Use of a Finder in Selecting Material for Landscapes; Autumn, Winter and Spring Effects in Color and in Value; The Same Landscape Expressed in Different Arrangements of Values; Trees in Foliage and with Bare Branches; Pictures from our Surroundings; Study of a Masterpiece; Home Exercises.
Bittersweet, Iris, and Geranium in Color; Use of the Finder in Sketching most Interesting Part of a Growth for a Sketch; Flowers and Leaves in Different Positions; Growth of Stems, Joints, Buds, Leaves, and Sprays; Root Growths; Use of the Accented Outline; Composition from Plant Forms.
Brush Studies in Color from Pose; The Same Pose in Different Positions; Different Steps in Pose Drawing; Proportion and Action Shown in Leading Lines or "Skeleton" Figures; Hands and Feet; Dog and Pigeon in Leading Lines, in Outline and in Values; Study of a Masterpiece; Home Exercises.
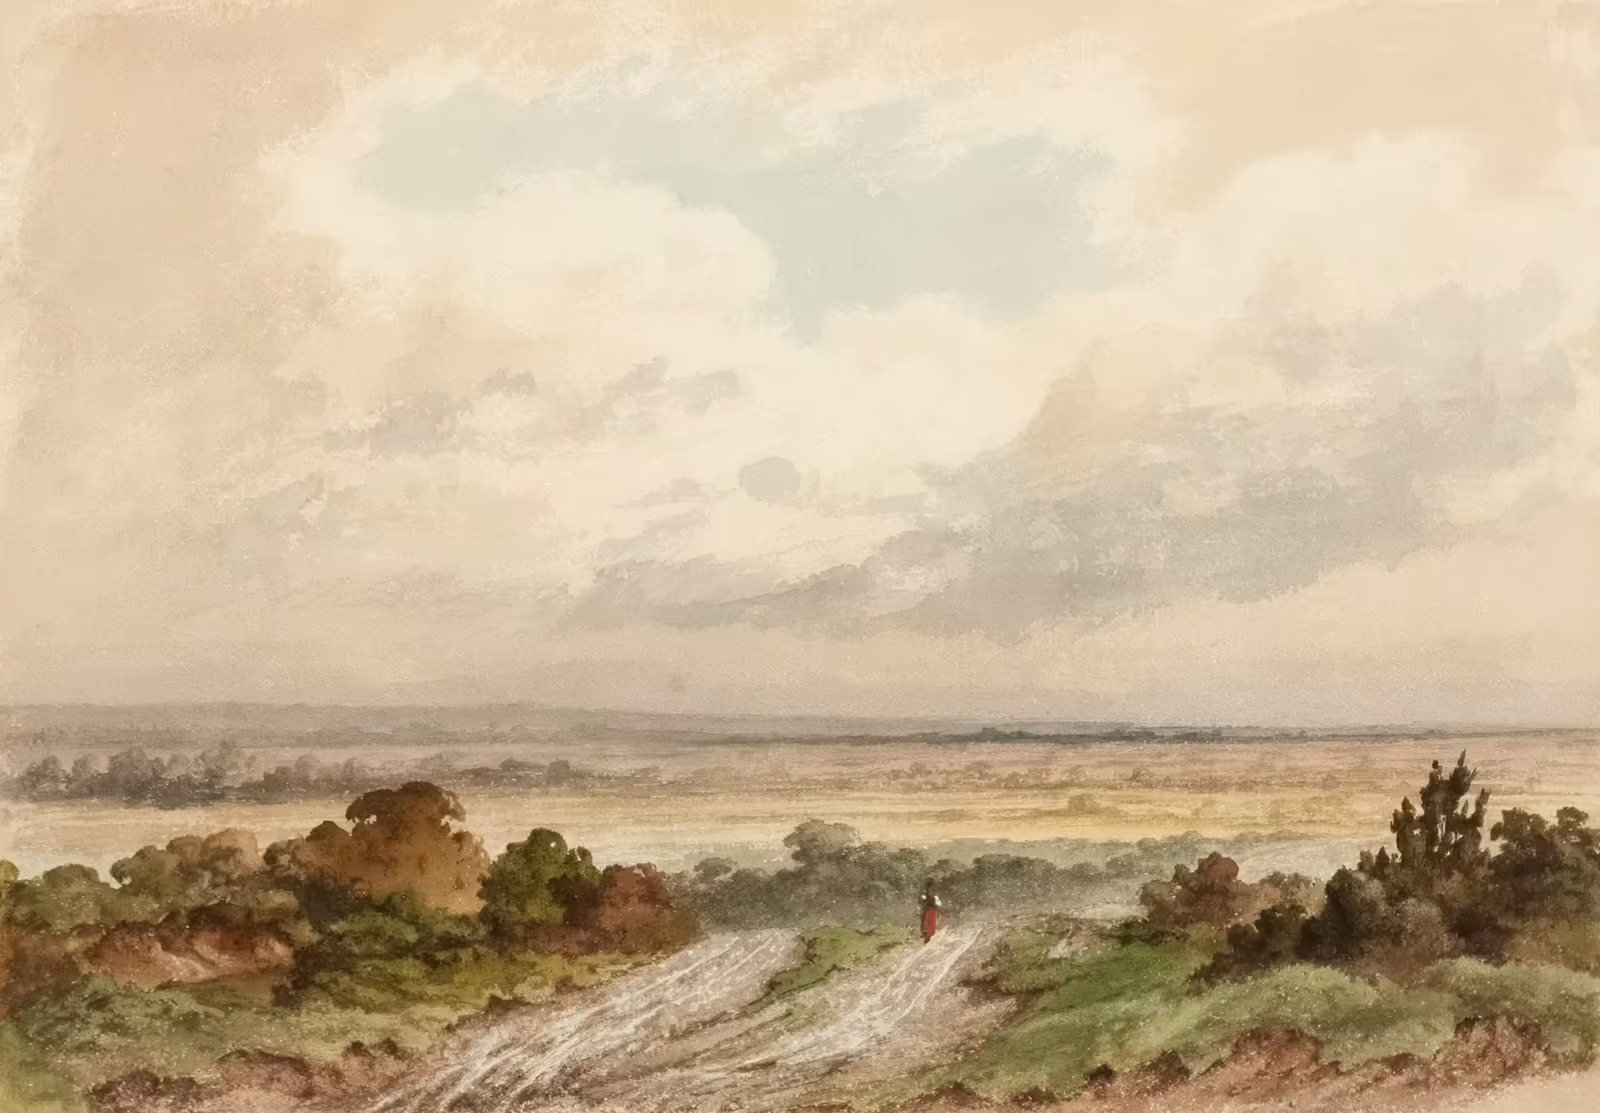
Have you ever been in the country, or in a city park, after the green of the maple-trees has turned to scarlet and gold? If you have noticed the trees in their gorgeous hues, you have probably found that the grass, also, shows patches of color not seen in the summer-time. The sky is often very blue, and its color is reflected in the quiet water of a lake or pool, or in a gently flowing stream. A smoky haze hangs over the distant trees, and softens, though it does not hide, their brilliant coloring.
Study the sketch on this page. Then paint an autumn picture. Show a bright blue sky, a field or hillside,--once green, but now touched with russet and brown,--a path or a pool of water, distant foliage, and one large tree. Save your picture to use in another lesson.
Making and Using a Finder.
If you look on page 4 you will see three little pictures that seem quite complete in themselves, and yet look like parts of the picture on page 2. The upper sketch shows the same big tree by the stream, and the lower right sketch has been taken from the left side of the large picture. A small part near the middle of the large picture was then selected, and this part was enlarged to make the third sketch shown.
You can often find some parts of your large sketches that are more interesting than others. On this page are some drawings of a little device which will help you to do this. It is called a finder, and is simply an oblong opening cut from a piece of paper so as to leave all around it a margin an inch or two wide. It looks like a little mat for a picture, or like a window-frame. Two square corners or L-shaped pieces of paper can be placed together so that the size of the opening can be changed by pushing the uprights nearer together or by pulling them farther apart. An adjustable finder like this (shown in the right sketch) can be used in a number of ways.
Draw on a sheet of 9 x 12 paper, an oblong seven inches high and three, four, or five inches wide. Around the oblong, which is to be cut out, leave a margin of at least an inch. Slip this large finder over the autumn sketch you made in the lesson on page 2, until you have found the part you like best. Cut this part out, and mount it on a large sheet of fresh paper, leaving a pleasing margin. The class sketches will make a fine exhibition.
Shapes and Growth of Trees.
No one can study out-of-door pictures without wishing to know how to draw trees. This can best be done by observing from a distance some tree as it grows.
The pictures on this page tell you plainly that the willow and the sycamore, or buttonwood tree, were chosen for the sketches, yet not a single leaf is shown as you would see it if you held it in your hand. What is it, then, that tells the story? It is the truthful drawing of the big things--the shape of the mass of foliage, the height and width of the trunk below the boughs, the size and direction of the branches, and the way they grow from the trunk.
In the sketch of the willow, the many small branches are plainly seen, and you can easily understand why it is that the willow bends and sways so gracefully in the wind. The brush strokes show something of the slender, pointed character of the leaves.
The sycamore is not round and regular like the willow, but shows patches of foliage and stretches of bare branches in a ragged and uneven way. Its shape is very different from the shape of the willow.
Make a large drawing with ink or crayon, from some tree out of doors.
Shapes of Bare Trees.
Winter is the best time in all the year to study the growth of trees. Although the leaves are gone and the branches are bare, the trees themselves are beautiful.
It is well to study a tree that is at some distance from you, so that its dark branches may be seen against the light sky. The willow and the sycamore are shown without their leaves on this page, and their shapes stand out clearly. You can see the strong trunk, and the branches that spring from it. The trunk of the sycamore becomes smaller as it throws off its boughs, and all the branches and twigs taper at the end.
Measure the height of the sycamore tree in the sketch,--from the topmost twig to the ground,--and see what part of the whole height the trunk below the foliage measures. Is it half as high, or only a fourth or a third? Notice trees out of doors and see how much of their height is above the trunk. Children sometimes draw trees with tall, stiff trunks and short, stunted tops.
Study and draw a beautiful tree without leaves. Make it of large size and use brush or crayon. Try to tell in your picture just what tree you studied.
What fun it is to gather nuts in the fall!
See the children in the picture. One boy "clubs" the tree until the nuts come rattling down and are half hidden in the grass and dry leaves.
Recall some pleasant time you have had gathering nuts or apples. Draw a picture showing where you were, what you gathered, and the kind of a tree on which the fruit grew. Show distant bushes and trees, and place the main tree so that its branches rise against the sky.
Make your picture tell an interesting story.
Sunset in Winter.
When you painted autumn landscapes, you thought, no doubt, that the world was more beautiful in October than at any other season. Perhaps it seemed to you that the cold, snow-covered earth could never be so interesting to paint.
Look at this winter picture. The sky is bright and the distant trees look violet. Did you ever notice that the snow at sunset does not seem to be white as you look across it to the horizon? If you hold a sheet of white paper in your hand and glance from that across the snow-covered fields at sunset, you will see that the whiteness of the snow has changed to violet-gray. Sometimes, too, the snow seems to be tinted by the rosy light of the sunset. As you study out-of-door objects, you will find that their colors appear different at different times of the day, or as they are near you or far away.
Paint a winter sunset. Try to see and to paint truthfully the color of distant trees, snow-covered ground, a far-off steeple or tower, or a tree near at hand.
A Sunset Picture in Values.
We can show with black crayons, with charcoal, or with brush and ink many pictures of out-of-doors that are rich in color. Even a sunset sky can be shown in grays, so that we will think of the lovely colors that the grays, or values, express.
Here is our winter sunset, shown in values. You will remember that by values we mean the different degrees of light and dark used to express color. Compare the two sunset pictures. The light gray-violet of the snow is shown in a light gray or neutral value in the picture on this page. The trees are very much darker, and the sky is neither as light as the snow nor as dark as the trees. The little rabbit makes a dark spot in the snow, and the foreground--that part of the picture that seems to be nearest--is white. You see that it has taken about four values to express the colors seen.